
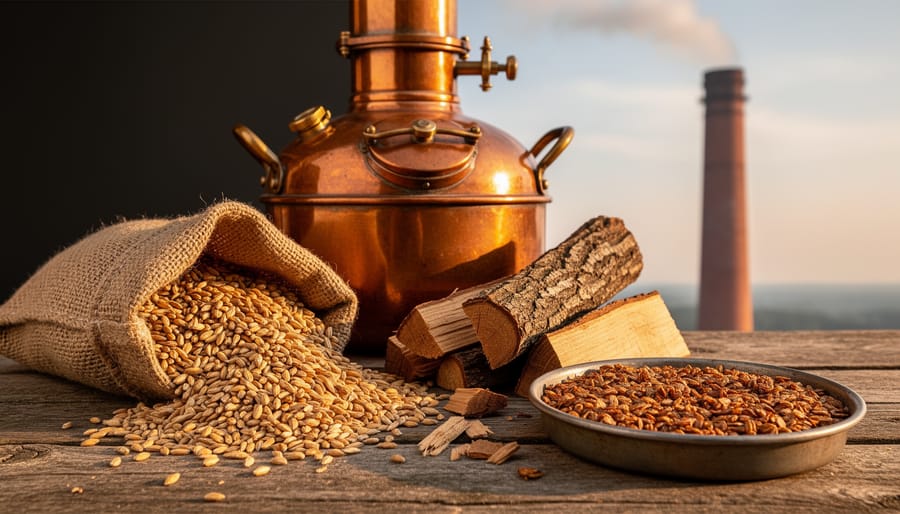
Source your malt directly from traditional malthouses that still use chimney-fired kilns, where smoke from beech, oak, or cherry wood rises through tall brick chimneys to kiss barley with authentic character. Alternatively, construct a cold-smoking chamber using food-grade materials and hardwood chips to transform base malt into your own smoked specialty grain—but never attempt this inside an active fireplace or chimney system without consulting local chimney repair experts, as creosote buildup and structural damage pose serious fire hazards. Toast smoked malt samples in a pan before brewing to assess flavor intensity, starting with 5-10% of your grain bill for subtle smoke notes in pale ales and porters, or pushing to 30-50% for robust rauchbiers. Master homebrewing basics first before experimenting with smoke-forward recipes, since these assertive flavors demand precise water chemistry and mash temperature control to balance phenolic compounds with malt sweetness, creating drinkable beers rather than liquid campfires.
The Surprising Link Between Chimney Restoration and Craft Brewing
What Makes Chimney-Smoked Malt Special
Chimney-smoked malt delivers a flavor complexity that sets it apart from commercial alternatives. When wood burns in a traditional chimney setting, it creates a unique blend of aromatic compounds that penetrate the grain differently than industrial smoking methods. The temperature variations and natural airflow patterns in a chimney produce layers of flavor, from subtle sweetness to rich, campfire-like notes.
Unlike standardized commercial smoked malts such as German Rauchmalz, which uses beechwood exclusively, chimney smoking allows you to experiment with whatever hardwoods are available. Oak imparts bold, robust flavors with hints of vanilla and caramel. Hickory brings assertive, bacon-like qualities perfect for darker beers. Apple and cherry woods contribute gentler, slightly sweet undertones that work beautifully in lighter styles.
The key difference lies in the smoking environment itself. Commercial operations use controlled kilns with consistent temperatures and smoke density. Chimney smoking, by contrast, exposes your malt to varying smoke intensities as the fire naturally ebbs and flows. This creates a more nuanced flavor profile with greater depth and character.
The aromatics you’ll achieve range from phenolic compounds that provide spicy, clove-like notes to guaiacol, which delivers that classic smoky essence. The longer exposure time possible with chimney smoking allows these compounds to develop more fully, resulting in malt that tells a story in every sip. This artisanal approach transforms ordinary base malt into something truly distinctive, giving your homebrew an authentic, handcrafted quality that commercial products simply cannot replicate.
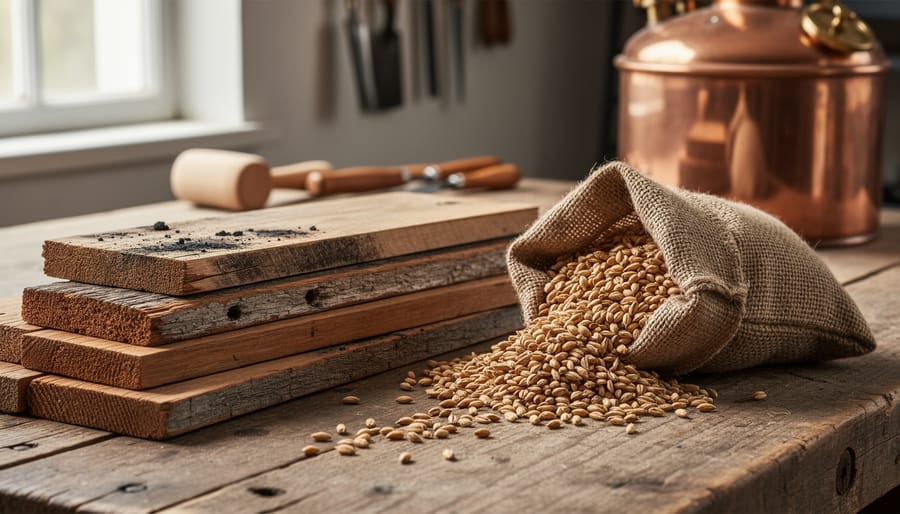
Wood Types Found in Old Chimneys
Understanding the wood types you might encounter in old chimneys is essential for both safety and flavor when smoking malt. Not all woods are suitable for this artisanal process, so let’s explore what you need to know.
Traditional chimney construction typically features oak, which is excellent news for homebrewers. Oak imparts a medium smoky flavor that’s versatile and complements many beer styles, from robust porters to Scottish ales. You’ll also commonly find pine and other softwoods, particularly in older residential chimneys. However, these should be strictly avoided for smoking malt. Softwoods contain high resin levels that produce acrid, bitter flavors and potentially harmful compounds when burned for food preparation.
Beech and birch sometimes appear in chimney restoration work, and both are wonderful choices for smoking. Beech delivers a subtle, slightly sweet smoke that works beautifully with lighter malts, while birch offers a delicate flavor profile perfect for more nuanced brews.
A critical safety consideration: never use wood from chimneys that may have been treated with preservatives, creosote buildup, or paint. These materials release toxic substances when burned. Similarly, avoid any wood showing signs of rot or mold contamination.
The safest approach is to positively identify the wood type and ensure it comes from a clean, untreated source. If there’s any doubt about a wood’s history or treatment, don’t use it for smoking malt. Your health and the quality of your brew depend on using only food-safe, properly sourced wood. When in doubt, purchase verified smoking woods from reputable suppliers to ensure both safety and consistent results in your smoked malt experiments.
Safety First: Evaluating Your Chimney Wood for Brewing
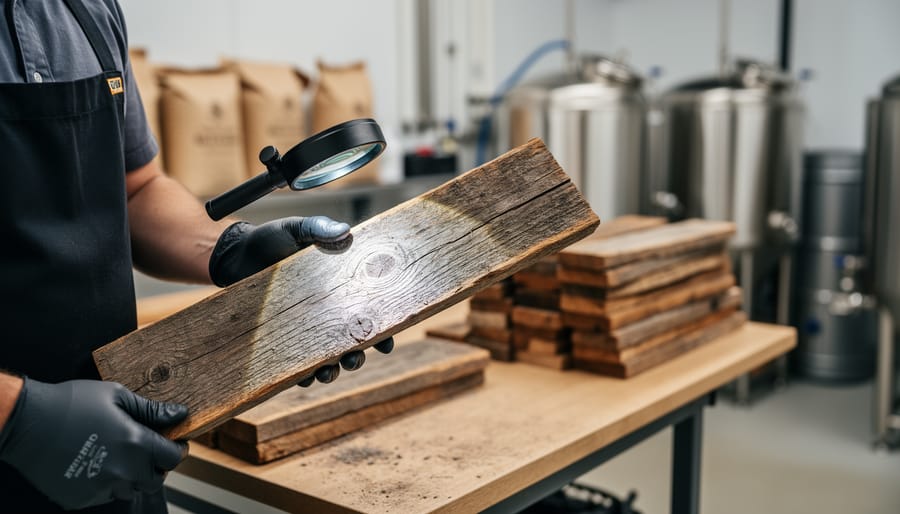
Testing Wood for Contaminants
Before incorporating any chimney wood into your malt smoking process, you need to verify it’s free from harmful contaminants. This crucial step ensures your finished beer remains safe and delicious.
Start with a thorough visual inspection. Examine the wood carefully for any paint, varnish, or stain residue. These coatings release toxic chemicals when burned and will ruin your malt while creating serious health hazards. Look for discoloration, glossy surfaces, or peeling layers that indicate treatment. Check for metal fasteners, nails, or screws embedded in the wood—remove these completely as they can create off-flavors and potentially dangerous compounds.
Next, inspect for chemical treatments like creosote buildup, which appears as black, tar-like deposits especially common in older chimneys. While creosote itself forms from wood combustion, excessive amounts or unusual chemical odors suggest contamination. Trust your nose: sniff the wood for petroleum-based smells, ammonia, or any harsh chemical scents that don’t smell like natural wood.
Perform a simple burn test with a small piece in a well-ventilated outdoor area. Clean wood produces light gray or white ash and smells pleasantly smoky. Avoid any wood that creates colored smoke (green, blue, or black), unusual odors, or leaves behind oily residue.
When in doubt, don’t use it. The artisanal craft of creating smoked malt demands clean, untreated hardwoods. Your brewing reputation and safety depend on starting with pristine materials.
When to Skip Chimney Wood Entirely
Not all chimney wood is safe or suitable for smoking malt, and knowing when to walk away is crucial for both your health and your beer’s quality. If your chimney predates 1978, there’s a significant risk of lead paint contamination on the surrounding structure, making any wood unsafe for food-related purposes. Chimneys that serviced oil furnaces or coal-burning systems should never be used, as these fuels leave behind toxic residues that penetrate deep into the wood fibers and cannot be adequately cleaned.
Treated lumber, painted surfaces, or wood showing signs of rot or mold growth present serious health hazards when burned. Chemical treatments used in construction materials release dangerous compounds when heated, while moldy wood can introduce mycotoxins that survive the smoking process. Similarly, if the chimney serviced a fireplace where trash, plastics, or pressure-treated wood were regularly burned, the creosote buildup contains concentrated pollutants.
When documentation about the chimney’s history is unavailable or you notice unusual odors, discoloration, or chemical staining on the wood, the safest approach is to source your smoking wood from reputable suppliers. Your brewing passion deserves quality materials that enhance rather than compromise your carefully crafted beer.
Creating Your Own Chimney-Smoked Malt at Home
Equipment and Setup for Smoking Malt
Getting started with chimney-smoked malt doesn’t require a significant investment, making it accessible for brewers at any level. At minimum, you’ll need a heat-safe container for your malt—a stainless steel colander or mesh basket works perfectly for beginners. These allow smoke to circulate freely around the grains while keeping them contained. A length of food-grade aluminum foil helps direct smoke flow and protect your grains from ash.
For the smoking chamber itself, the chimney provides the structure, but you’ll need a suspension system. Heavy-duty wire, hooks, or even a fireplace grate can serve as platforms to position your malt in the optimal smoke zone—typically several feet above the fire source where temperatures remain moderate.
Temperature monitoring is crucial for this artisanal technique. A basic oven thermometer or, better yet, a digital probe thermometer ensures you maintain the ideal range of 120-150°F. This prevents cooking the malt while allowing adequate smoke absorption.
Beyond your smoking setup, remember that your standard brewing equipment remains essential for the actual brewing process. Consider investing in heat-resistant gloves for safely handling hot containers and multiple shallow pans for spreading malt to cool quickly after smoking.
Advanced brewers might explore installing permanent brackets or platforms within their chimney, but simple hanging systems work beautifully for those testing the waters. The beauty of this traditional method lies in its simplicity—quality results come from technique and attention rather than expensive gear.
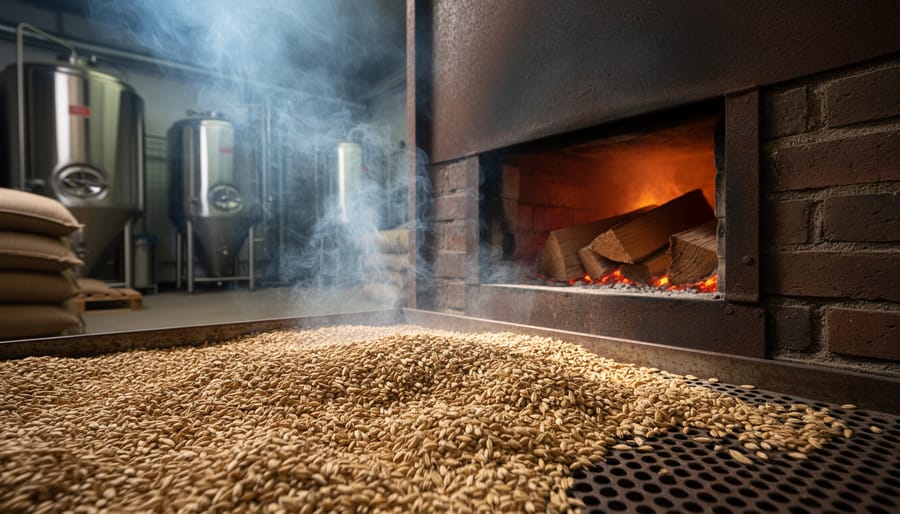
The Smoking Process Step-by-Step
Creating consistently smoked malt requires careful attention to several key variables. Let’s walk through the process to help you achieve excellent results every time.
Begin by preparing your wood source. Hardwoods like beech, cherry, or apple work beautifully for brewing applications, while avoiding resinous softwoods that can impart unpleasant flavors. Cut or split your wood into manageable pieces that will produce steady smoke rather than flames. The wood should be dry but not completely seasoned—slightly green wood generates more smoke, though it requires careful temperature management.
Spread your base malt in a single layer on food-safe mesh screens or perforated pans. Thin layers ensure even smoke penetration, typically no more than one inch deep. Position these trays in your smoking chamber where smoke will circulate freely around the grain without direct heat exposure.
Temperature control is critical for quality results. Maintain your smoking temperature between 120°F and 150°F throughout the process. Higher temperatures risk developing harsh, acrid flavors and can damage the enzymatic power needed for mashing. Use multiple thermometers placed at different levels to monitor consistency, as temperature stratification commonly occurs in vertical smoking setups.
For mild smoke character, expose your malt to smoke for 30 to 60 minutes, stirring every 15 minutes to ensure even coverage. Medium intensity requires 90 minutes to 2 hours, while bold, traditional styles may need 3 to 4 hours of exposure. Remember that smoke flavor intensifies during storage, so start conservative with your first batches.
Stir the grain regularly throughout the smoking period to prevent hot spots and achieve uniform color development. The malt should take on a golden to light brown hue depending on your target intensity. After smoking, spread the malt to cool completely before storage, allowing surface moisture to dissipate and flavors to mellow.
Brewing with Your Chimney-Smoked Malt
Best Beer Styles for Chimney-Smoked Malt
Chimney-smoked malt truly shines in traditional German Rauchbier, where the smoke character takes center stage alongside malty sweetness. A classic Märzen-style Rauchbier using 50-100% smoked malt creates an authentic experience reminiscent of Bamberg’s famous breweries. For those new to brewing with smoke, starting with 20-30% chimney-smoked malt in your grain bill allows the unique character to complement rather than dominate.
Smoked porters offer another excellent showcase for this distinctive ingredient. The roasted chocolate and coffee notes harmonize beautifully with chimney smoke, creating layers of complexity. Try substituting 30-40% of your base malt with chimney-smoked varieties in your favorite porter recipe.
Other styles worth exploring include smoked Scottish ales, where the smoke enhances caramel sweetness, and smoked bocks for a robust, warming winter brew. Adventurous brewers might experiment with smoked IPAs, using just 10-15% smoked malt to add an intriguing bacon-like quality without overwhelming hop character.
For more inspiration and detailed formulations, check out our collection of smoked beer recipes that can be adapted to showcase your artisanal chimney-smoked malt.
Troubleshooting Common Flavor Issues
Even experienced brewers encounter challenges when working with chimney smoked malt. If your beer tastes like a campfire gone wrong, you’ve likely used too much smoked grain. Start by limiting smoked malt to 10-15% of your total grain bill, then adjust upward in future batches. For styles like rauchbiers, you can push to 50% or more, but build gradually to understand how the smoke character develops.
When you detect harsh, acrid off-flavors rather than pleasant smokiness, the culprit is often incomplete combustion during your smoking process. Ensure your chimney maintains steady airflow and burns wood at proper temperatures. Avoid resinous softwoods and stick with hardwoods like oak, beech, or apple for cleaner smoke profiles.
If your smoke character disappears during fermentation or aging, you may have smoked at too low a temperature or for insufficient time. The phenolic compounds that create smoke flavor need adequate exposure, typically 2-4 hours at temperatures between 120-140°F. Take detailed notes during each smoking session to refine your technique.
Remember, achieving balanced smoke character is a craft that improves with practice. Each chimney setup behaves differently, so patience and experimentation will guide you toward consistently delicious results.
The art of smoking your own malt shares a deep kinship with the centuries-old craft of chimney building and restoration. Both disciplines demand patience, attention to detail, and respect for the transformative power of controlled smoke and fire. When you take the time to understand proper smoke generation, temperature management, and safety protocols, you’re honoring traditions that have shaped flavor profiles for generations.
As you embark on your smoking adventures, remember that experimentation is the heart of homebrewing. Start with small batches, keep detailed notes, and don’t be discouraged if your first attempt doesn’t yield perfection. Safety should always be your top priority—never compromise on proper ventilation, fire prevention, or food-grade materials.
Whether you choose to smoke your own grains or prefer the convenience and consistency of commercially prepared products, having quality base malts is essential. Explore the diverse selection of malted grains available to find the perfect foundation for your smoked creations or to complement your custom-smoked specialty malts. Each brewing journey offers new opportunities to refine your craft and develop flavors that are uniquely yours.